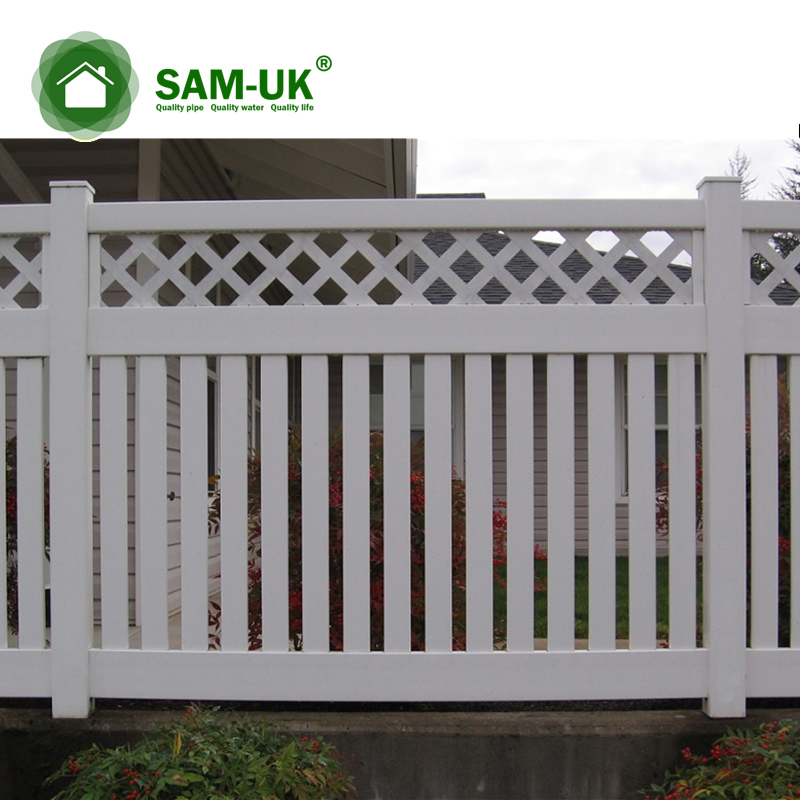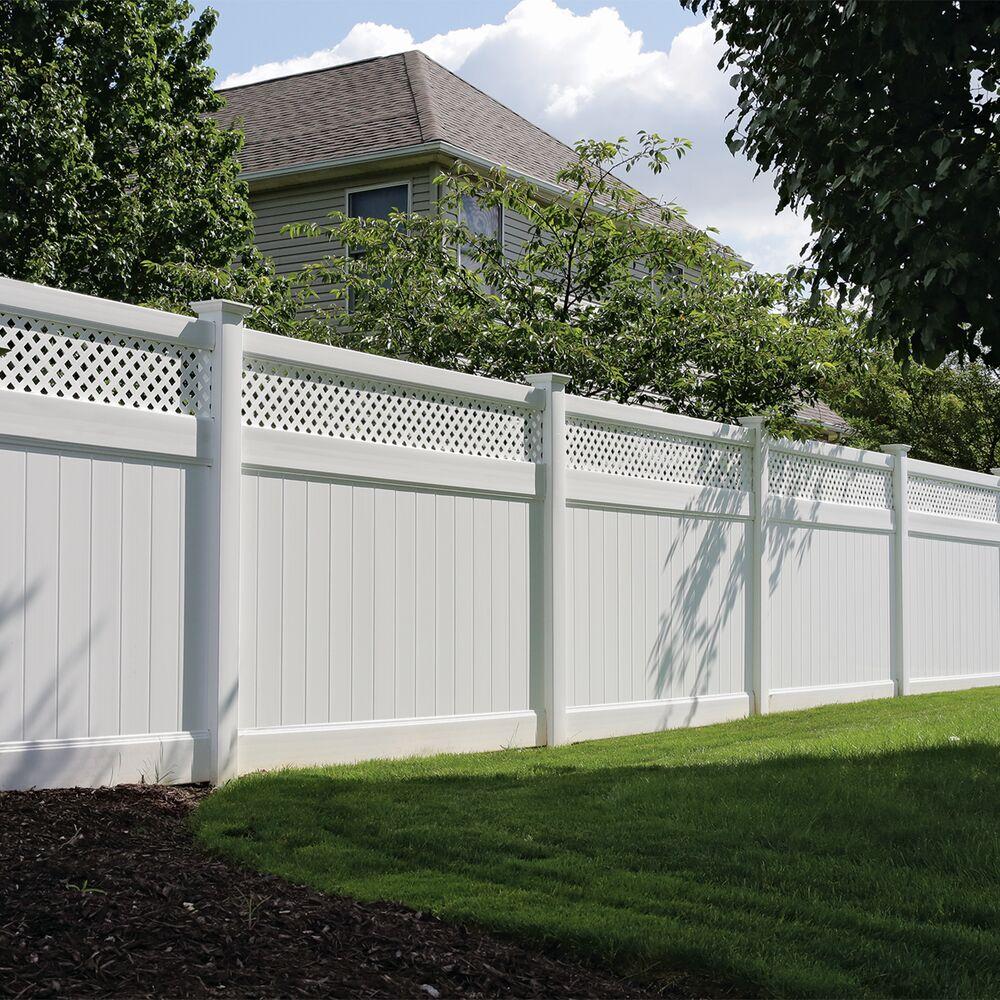
While vinyl picket fences are often chosen as a maintenance-free wood, there may be times when it may not be as perfect, what do you do when you want to stain your vinyl picket fencing.
Specific contents:
You can stain clôture en vinyle
Avertissements concernant les taches
Étapes de la coloration
You can stain vinyl fence
The vinyl picket fencing has become a popular choice due to its low maintenance and super durability, but it will become wilted and faded. Paint your vinyl picket fence and give them a new look. Preparation is the key to high quality paint work. All peeling paint must be removed and the fence must be cleaned before painting. When applying a smooth surface to a fence, it is important to use the right product. A high quality acrylic exterior latex paint is applied to the vinyl picket fencing to ensure good adhesion and long-lasting finish.
Avertissements concernant les taches
Si la peinture existante n'est pas décollée, l'apprêt n'est pas nécessaire.
Un pulvérisateur de peinture peut être utilisé à la place du rouleau.
N'utilisez pas de nettoyeur à pression pour nettoyer la clôture.
Ne pas peindre la clôture plus profondément que la peinture d'origine. La couleur foncée absorbe la chaleur, ce qui peut entraîner une déformation.
Étapes de la coloration
Étape 1 - Achat du matériel adéquat
Vinyl picket fence is a smooth surface that will not take regular latex or oil-based paints. You will need an epoxy-based paint that adheres to the vinyl. You will also need to make sure your painting tools are right for the job. Using the wrong brush or roller will cause uneven application, thus creating messy drips in the finish. Check the instructions on your product or ask your local DIY store about brushes and rollers that will work with your paint.
Étape 2 - Préparation de la clôture
Even if you hose down your vinyl picket fencing on a regular basis, there will still be a layer of dirt and grime that can prevent epoxy-based paint from adhering properly. Clean it off with a bucket of warm, soapy water before rinsing it off with the garden hose. Take the time to dry off your fence with a clean towel as this will remove any remaining residue that might affect paint adhesion. Let the fence dry before priming.
Étape 3 - Recouvrir d'une couche d'apprêt
Priming your fence properly will ensure that your top coat does not crack or bubble prematurely. Use an exterior primer designed for vinyl products that it is also mold and mildew-resistant. Wearing latex gloves, use a brush to fill out tricky angles and a roller to cover the larger areas. A paint sprayer, if you have one or can buy one, will give you a more even finish and covers the same area in about half the time as a roller. However, remember to wear safety goggles and a dust mask if using a paint sprayer. Finally, allow the primer to dry before painting.
Étape 4 - Appliquer la peinture
Paint your picket vinyl fence using the same method as you did with the primer. If you are using the same paint sprayer, make sure you clean it thoroughly and allow it to dry so primer and water are not mixed with your top coat paint. Wrap brushes and rollers with plastic cling wrap instead of cleaning them between applying coats of paint. Also let the paint dry completely between coats and before applying a sealant.
Étape 5 - Finition avec le mastic
Protect your newly painted fence by applying a high-gloss sealant. A good sealant will protect the vinyl from the elements and keep the paint from cracking or fading quickly. Once your sealant dries, you will be able to enjoy the maintenance-free benefits that vinyl picket fencing offers for many years to come.
Because vinyl is more durable, keep in mind that if you stain it and damage its surface, its life may be reduced. However, if your vinyl picket fence has no original color, or if you are already looking at it, it can be reworked using the above steps.
词密度:5.4%