
- All
- Product Name
- Product Keyword
- Product Model
- Product Summary
- Product Description
- Multi Field Search

The current use of vinyl privacy fence is becoming more widespread. You can try to install the vinyl fence at home. In fact, its installation is very simple. If you can succeed, you will have a very beautiful fence and a sense of accomplishment. So let's take a look at the specific steps to install a vinyl privacy fence.
Before planning and purchasing your fence materials, ask yourself these questions:
What will be the function of the vinyl privacy fence?
What style and material will blend with my landscaping and the architecture of my home?
Vinyl privacy fencing is a relatively new, maintenance-free type of fencing. It's available in forms similar to both wood panel and rail fencing. Vinyl privacy fencing isn't subject to rot, fading or other effects of weather and time as wood fencing can be. Vinyl is a good choice for an attractive, easily maintained fence system. Choosing good materials and styles will have a good final installation effect.
Mark the Fence Location
Once you have determined the property line and legal setback, mark out the location of the fence. Mark the locations of the corner post holes with spray paint. Mark the locations of the remaining line posts, keeping the distance between the posts evenly spaced at approximately 8’. Though it costs more at the outset, vinyl privacy fencing pays for itself because it lasts longer and requires almost no maintenance. Concrete that holds the posts needs time to harden before the installation can be finished. Plan the location of the fence carefully, and you'll avoid costly mistakes that might be difficult to undo.
Temporarily Set the Posts
Using a post hole digger, dig holes approximately 24" deep and 10" in diameter. Add a few inches of gravel to the bottom of the holes for drainage. Insert corner posts in holes. Ensure the posts are level and plumb. Temporarily brace posts with 2" x 4"s attached to post tops and ground.
Run a String Line
Run a string line from the top edges of the corner posts. Make sure the string is taut and level. This provides a guide to ensure that the posts are all installed at the same height. Install remaining line posts checking that each is plumb and at the same height as the corner posts.
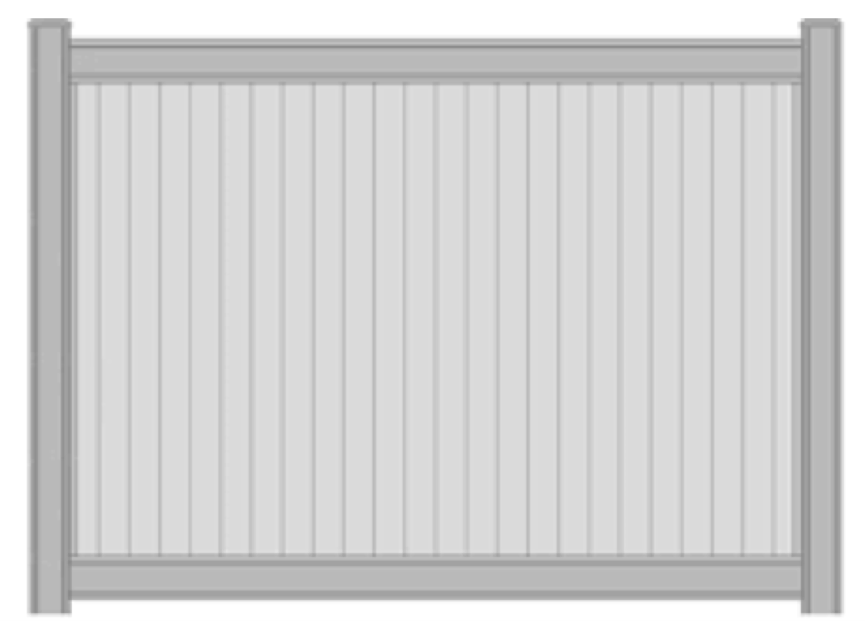
Assemble the Fence Panels
Vinyl privacy fence panels are comprised of a bottom rail, top rail and slats. Assemble them according to manufacturer’s instructions. Snap the ends of the top and bottom rails into the appropriate holes on the fence posts.
Permanently Set the Posts
Mix fast-drying cement according to manufacturer's directions and pour in holes. Leave the 2" x 4" bracing in place overnight while the cement cures. Remove the bracing. Apply cement to the inside of the post caps and then install atop posts.
Other considerations
·An incorrect measurement now could result in problems later. Use graph paper to make the drawing easier.
·Installing a vinyl privacy fence on a slope requires the use of the step method: the fence gradually steps up the slope so that each bay section is the same length, and the rails are level instead of parallel to the slope.
·The depth of the hole before inserting the fence depends on the specific size of your fence.
The above is the specific precautions for installing the vinyl privacy fence. Follow this step to complete your own fence! If you still don't know about installing fences, you can always contact us and we look forward to your questions and suggestions.


