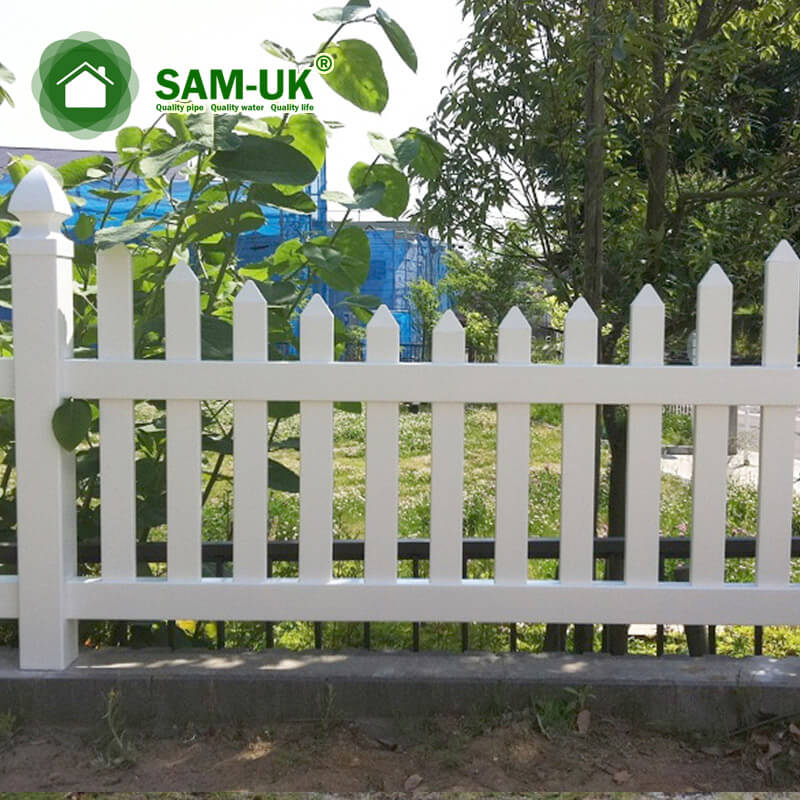
Maybe you are preparing to install a gate for your patio. Our vinyl gates are your best choice. In order to increase the aesthetics of your courtyard, you should add some fence accessories, today we will introduce you to the installation process of the gate with the style of vinyl double gate
Before you start, you should pay attention to the following questions:
• Find the property line: you can find them by finding the pins in the front curb. If you can’t find them, you may need to hire a surveyor to find them.
• Check your local city code to find out where your city may be in the front of the house, also known as building codes. Limit you to the 3′ or 4′ height limit while checking the overall fence height of your city.
Prepare the FENCE&GATE layout
step 1
Find your property line
Step 2
Mark the position of each column hole. The gate post should be set to the required width, which is determined according to the specific situation.

Set post of double vinyl gate
step 1
The hole diameter is about 8″ – 10″ and the depth is
24″ for the hinge column diameter of 10 inches – 12 inches. This way you can put more concrete in the hole and then make the post more stable.
Step 2
Place the column in the center of the hole and straighten it to the
fence line. Use two adjacent sides to check that the columns are vertically aligned. At this point you can adjust the height of the fence slightly.
Step 3
Concrete was poured around the column and filled 2 inches underground. If you use mixed concrete, do not make it too moist, so as not to wait for the solidified soil to solidify for too long, the position of the column is deviated. Follow these steps until all posts are set up and ready for panel installation.
Install the plugin of double vinyl gate
There are two ways to install a plugin.
The first one is sliding: Insert the column and fix it to the bottom with yourself Self-tapping screws. Then set the normal post to make sure The insert is placed in the correct position.
The second one is: Slide it into the post after setting it up. Slide the plugin into the top
The post slowly dropped into the post. Make sure to insert Is the right way to make hinge screws and latches. The screw will grab the steel.
ATTACHING HINGES TO GATE
Locate the sticker on the end of the gate and 
attach the hinges using the self tapping screws
that are provided. Place the hinges in-line with
the rails as shown in the picture to the right.
Installation gate
step 1
Use one piece or piece of wood to support each gate to the desired position. Do not place screws at the end of the hinge.
Step 2
Screw the hinge with the gate to the post with screws.
Adjustment gate
Turn the nut on the gate hinge by turning until the spacing on each side is similar.

Attaching the latch of double vinyl gate
STEP 1
Attach the striker pin to the gate using the self tapping screws that are provided.
STEP 2
Place the latch around the striker pin and then position the latch so that the striker sits
In the latch type touching the top or bottom. Attach the latch with the self tapping screws provided.
STEP 3
Try to open and close the gate, repeat it a few times and check for problems.
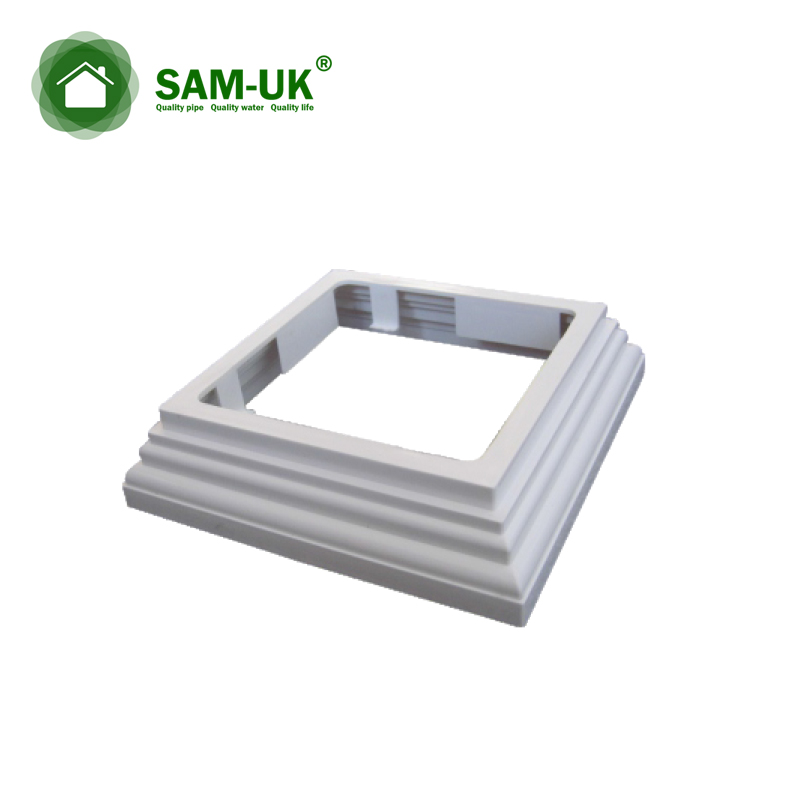
POST CAPS
Apply a small amount of PVC glue to the inner rim of the cap and place onto the post.  Make sure the cap is firmly in place.
TIP: Place only one or two dots of glue this is sufficient for holding the cap on and
will allow removal if needed.
Clean
Residues and dirt on the vinyl gate during installation
In most cases, you can spray it off with a hose. But for more stubborn stains, you can use some simple cleaners to erase.
The above is the installation step of the vinyl double gate. We are a professional manufacturer of vinyl gates. We use advanced processing technology to produce the best quality vinyl products. If you are interested, you can visit our official website for more information.