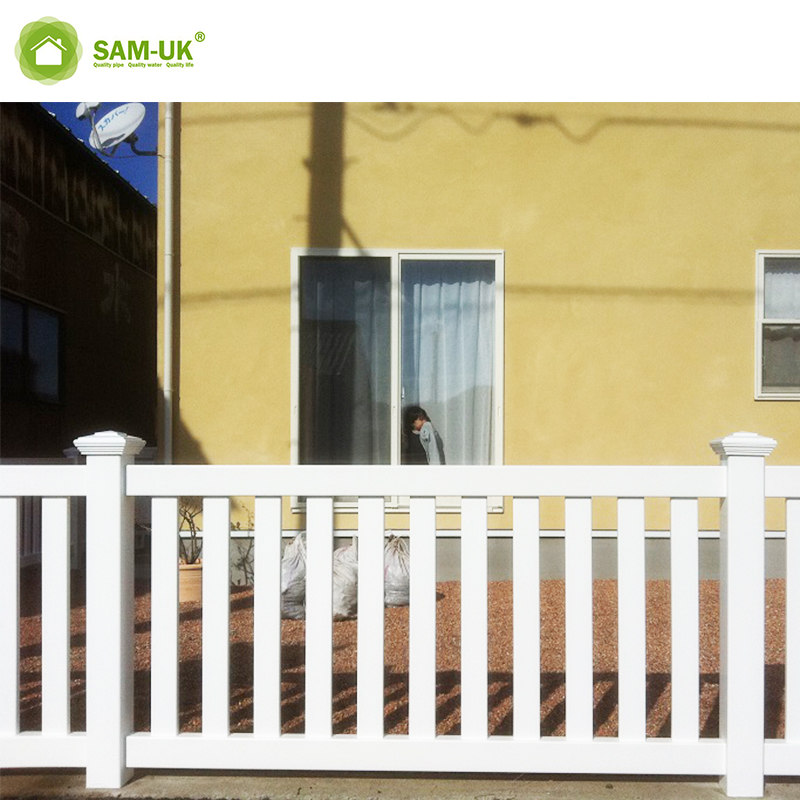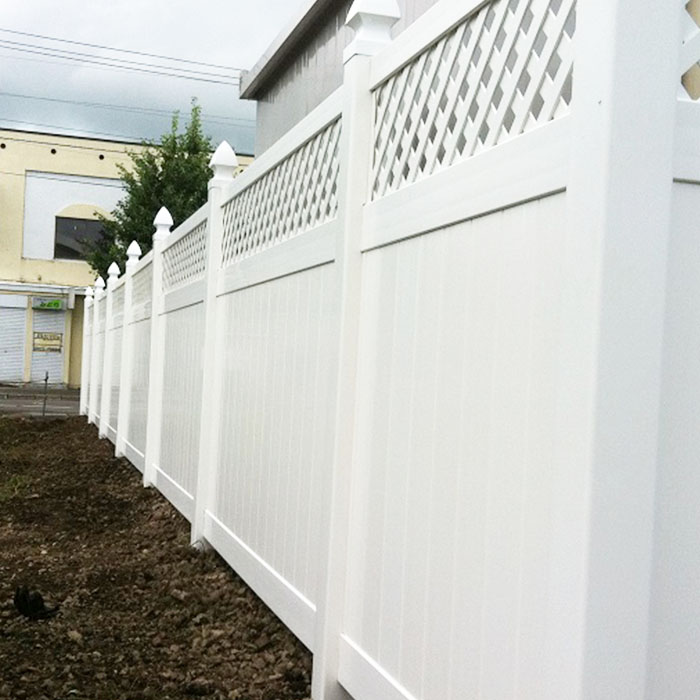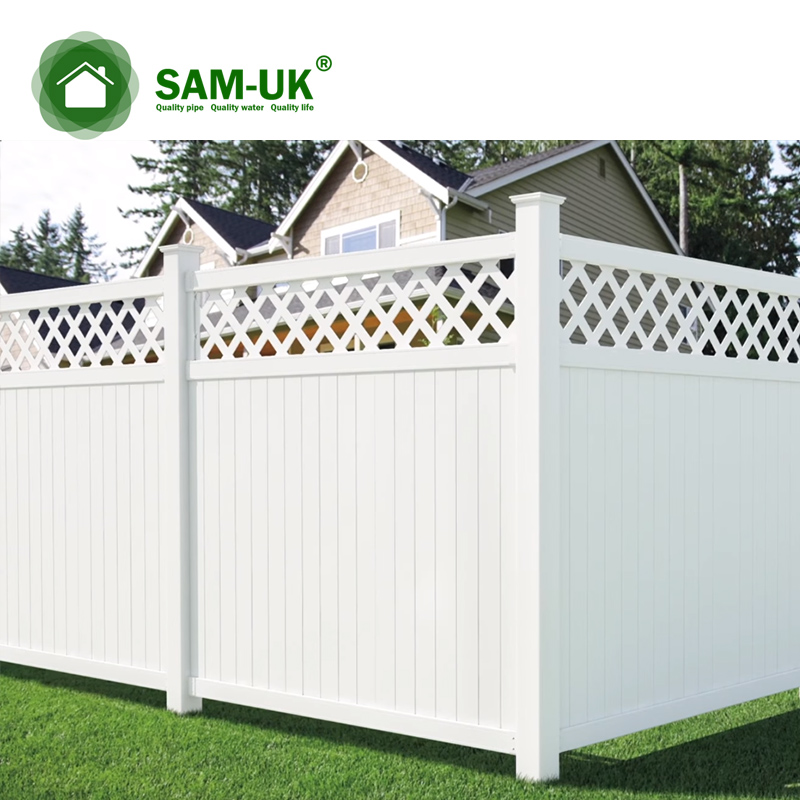
Maybe you have a ranch, you need to make a ranch rail for your horse, then the vinyl fence must be your best choice. It’s not only rugged, but also beautiful, and there are plenty of styles to choose from. It will take a long time to install the fence. If it is not installed, you may take time to maintain them during your future use. So whether you install the fence yourself or let someone install the fence for you, you should know how to do it. This article will introduce you to the installation method of the horse fence.
Before you start to install the ranch railing fence
1. Develop your budget plan
2. Check if you need a license to establish a horse fence in your area.
3. Contact your local utility company for information.
4. Read the instructions below
Required tools
1. Post Level (it is used to check if the two planes of the column are vertical)
2. Special cutting tool for guide rails
3. 100 foot tape measure
4. Manual digging machine plus 12 inch power auger
5. Nylon rope spools and some wood or heavy poles
6. Hammer and saw (plywood blades are best)
7. Spray paint to mark holes for digging (silver or fluorescent)
Fence Components:
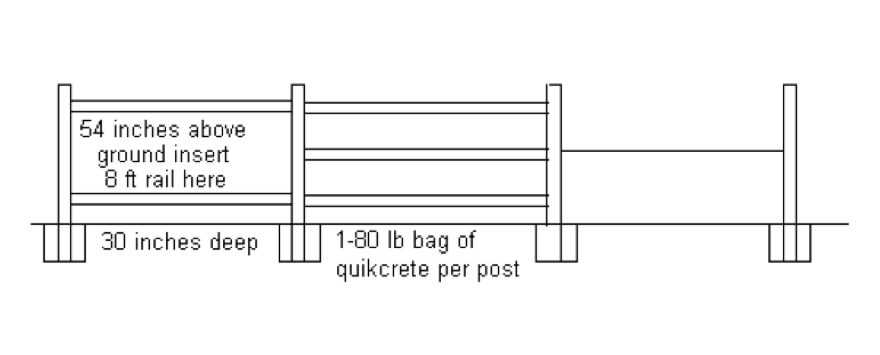
Post Size
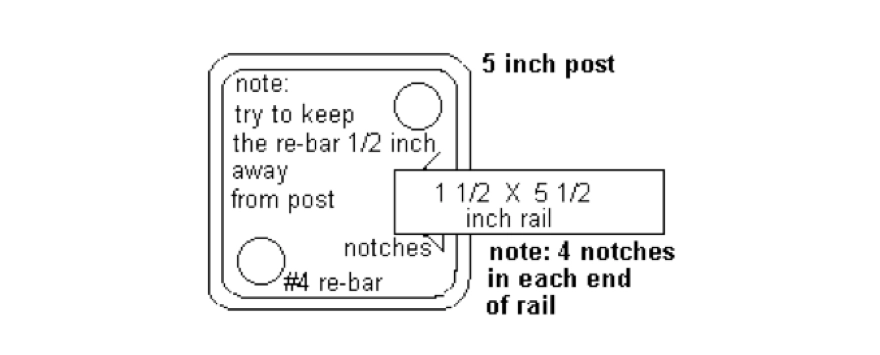
2 rail 5 inch .x5 in.x68 in., 3 rail 5in.x5in.x84in., 4 rail 5in.x5 in.x96in.
Post Spacing
96 in. (8ft)on center
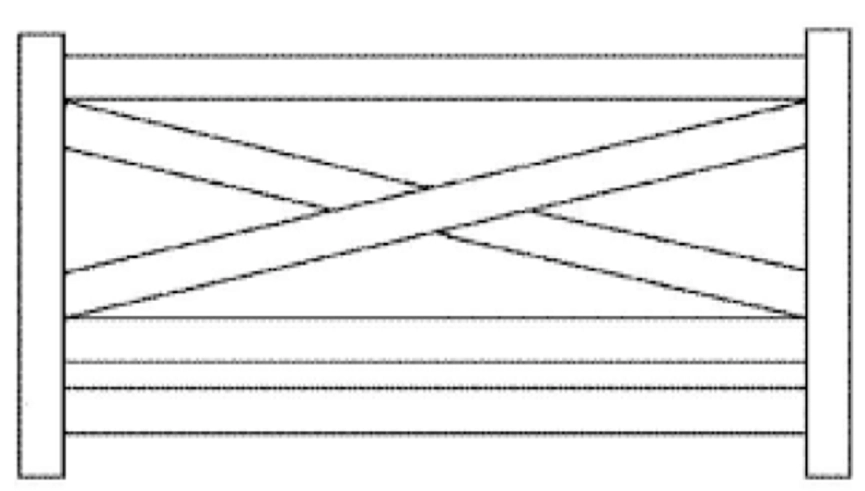
RaiI Size
1.5″x5.5″x192″ or 2″x6″x192″ Height for both 3 and 4 Rail is 54 in. – 60in. above grade
Established on hills or slopes:
If you build a fence at a slope, you can cut the track to 8 feet so they allow the height to be changed. In special cases, you may need to use wiring holes. In general, the smoother the transition, the better it looks. So if the land suddenly transitions from a plane to a slope, the fence needs to change its angle accordingly, resulting in a better appearance.
Spread the work:
•Draw a work layout and calculate the corner posts you need, the number of posts and “T” posts.
•Use a rope and peg to create a fence line that allows 2 1/2 inches from the string to the center of the column. Mark “X” with 100 feet of tape and paint, each of which will be drilled. Remember that the column is set at 8 feet in the center and the rail is 16 feet long. So if you are turning, you may need to cut the rail into a circular area that is 8 feet long.
Installation post:
• Drill a 30-inch deep hole using an electric auger at each “X” and clean the hole with a handle hole digger.
•Pour a few quarts of water into the hole with a column, pand then put a few quarts of water on it. Let it settle for a few minutes and then backfill the holes with mud. Check the plumbness of the column during backfilling. If you need to adjust the position near the string, always use your foot at the bottom of the column. Do not push or pull the top of the top.
Instructions:
•The pillars are placed 8 feet from the center and the rails are 16 feet long. This means that the guide goes through all other posts.
•After installing a few posts, you need to check the top of the post to make sure they are set to the correct depth. If your terrain is irregular, be sure to make a transition to the fence. Therefore, it’s best to set up reference posts first, then gradually adjust them.
If the column is too high, use a hammer and a piece of wood to knock it deeper. If it’s too low, just pull it to the correct height and put a little bit of wet cement on the column itself to fill the small space below the column you created.
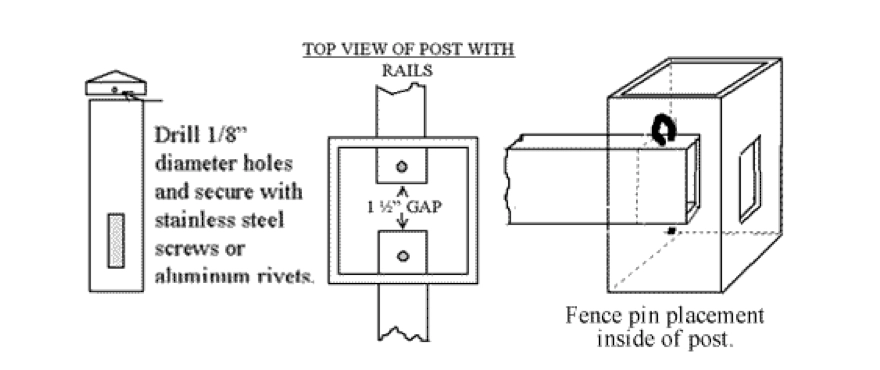
•It is best to let the cement cure for 24 hours before setting the rails. If you are terminating at a gate post duct tape the end of each rail before inserting into post. Wipe off excess cement and glue on the caps with a PVC cement.
Installing the gates:
•Insert the steel bars into each door post and fill with wet concrete. Before filling, make sure all door hardware is installed on the column. Wait 24 to 48 hours for the cement to solidify before hanging the door.
These are the installation process of the horse fence, I hope to solve your problem. If you still have something you don’t understand, you can always come to us.