
The vinyl lattice fence protects your privacy, it is easier to build than a standard fence, reducing the time spent on cutting the pole. The installation steps for the vinyl lattice fence are described below.
Tip 1 – First attach the rail bracket to the pillar
To save your installation time, mount the rail bracket to the post before the job begins. Before the mobile device in the yard is ready, you don’t need to move more parts and tools with the brackets to install them later and later.
Tip 2 – Install one panel at a time
Try not to install multiple panels at once. If you find that the distance is different, the cost will be great. Instead, the first column is installed by digging holes and fixing the column, and the position of the second column is measured using the upright column. This method was slower at first, but there were fewer repairs afterwards.
Tip 3 – Mixed cement
Do not use too much water when mixing cement. In order to be more effective, you can pre-mix the cement instead of pouring the powder and water into the holes. If you add too much water when mixing cement, it will make it difficult to keep the fence flat during the curing process.
Tip 4 – Check your work at any time
If the hole is too deep, too shallow, or the column is not suitable at the end of the installation, be sure to find these problems in a timely manner. Try to measure every time you put a new post. Use a taut rope to make sure all the columns are aligned and check for tilt so you can install higher posts for the hilly area fence. Attach a weight to the rope and place it on a pole to check the alignment. The 90 degree column should be aligned with the direction of the string.
Step 5 – Install the vinyl lattice fence panel
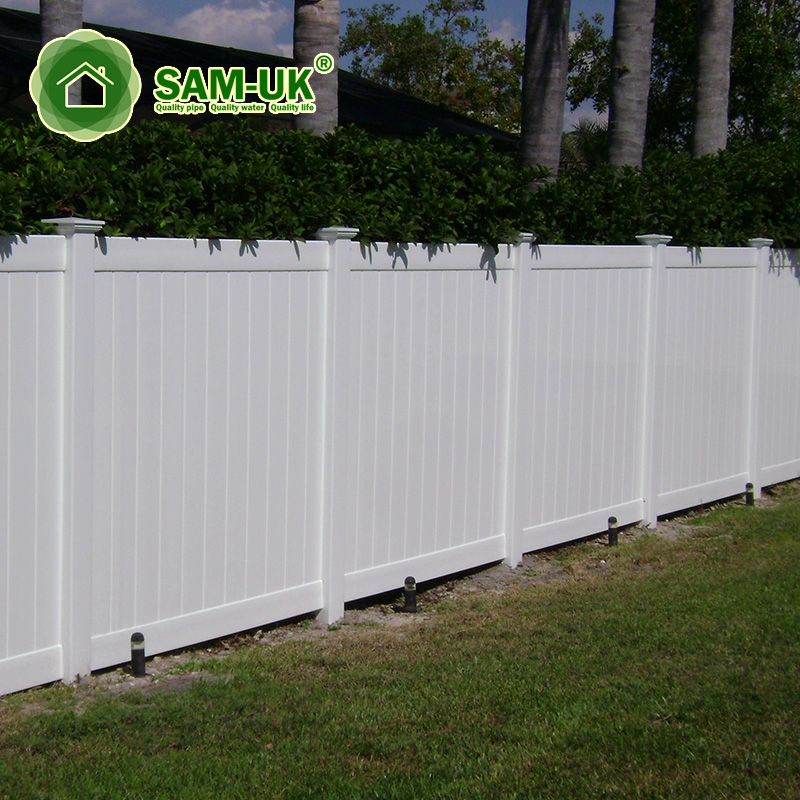
Place the first panel so that it is perfectly aligned horizontally and vertically and horizontally. Use three platform screws to screw the panel into the rail so you can make any adjustments as needed. Once the panels are properly aligned, screw them all the way into the rail and insert the fasteners approximately every six inches. Cut the panel if necessary. Always use a circular saw with a vinyl cutting blade to reduce the pressure on the vinyl. If you don’t have a vinyl blade, you can flip the regular blade to rotate in the opposite direction. This would be similar to a vinyl cutting blade and would apply less strain to the panels used in the vinyl grille fence.
Tip 6 – Use for vinyl grid panels
Most vinyl grid panels are prefabricated into 4 x 8 foot rectangular panels. They are used as fences, but their other popular uses are deck skirts, yard fences, climbing wall, pool fences, window screens, gazebo walls and pet fences.
For more information you can visit our website at any time. We are a manufacturer of vinyl fences with a variety of styles to meet your needs.